

AZRAEL'S RV COMMAND VEHICLE By ( Urbant Army ) |


VEHICLES & WARMACHINES |
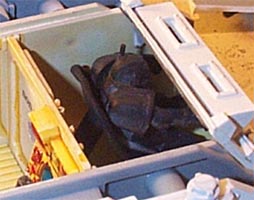
Step 6: I painted the driver first, as he would be the least seen model, and was a warm-up for the gunner and Azrael. I then fitted him to his chair and then with him in place finished painting the interior of the driver's cabin. The paint scheme in the cabin is very stark, so that it would catch the eye. I thought that if I was too subtle it would be lost. |
Step 7: I'd decided to hinge everything, so that it all opened and closed, and for the side doors instead of the normal way I used fine aluminium tube, carved out the slots and then I fitted thin brass rod through the tube and fitted it to the base of the doors, then I glued the tube to the pre-prepared frame. For the roof hatch I fitted the brass rod at the hinge point in the doors then used |
">

">
">
">
Step 8A: I then painted it in shades of Bleached Bone..... |


">
">
">
">
Figure 6 |
Figure 7 |


">
">
">
">
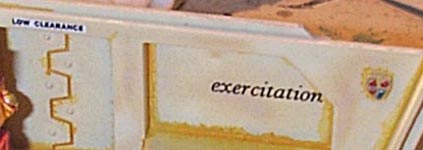
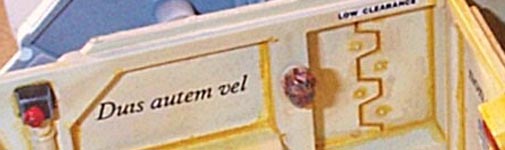
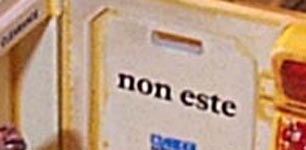
I used Letra-set stencils to add text to the walls and doors |
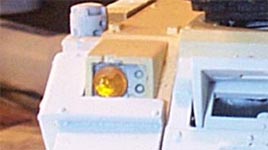
I had the model assembled all except for the roof panel, this way I could work on the highlighting in the interior. I cut the headlights off the model and fitted Gold coloured crystal lenses. |
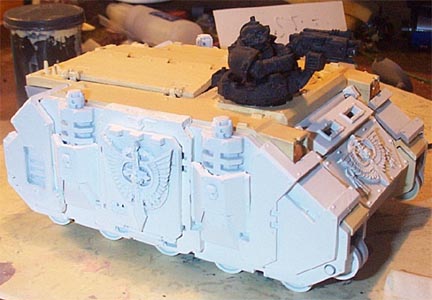
Then I placed the roof on and then the extra armour, and fitted the FW doors. |
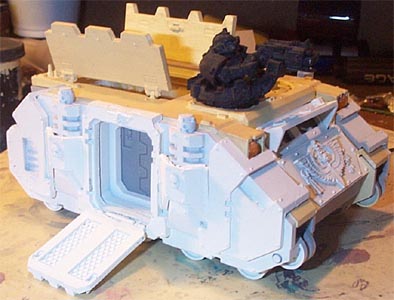
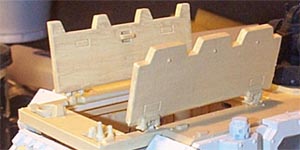
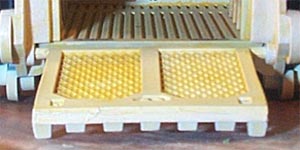

strips of aluminium from a Coke can to make the hinges. I tried plasticard first, but they kept snapping, Once I had changed them all to the Coke can technique, they are yet to break. |
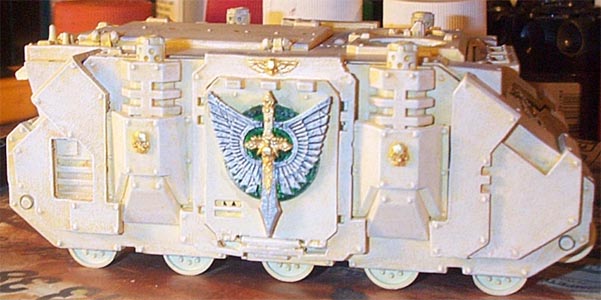
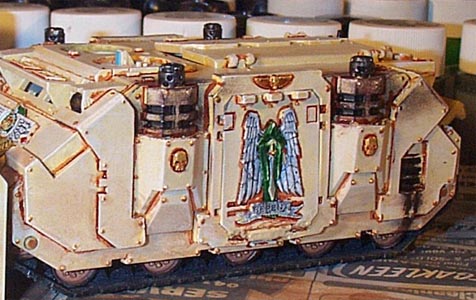
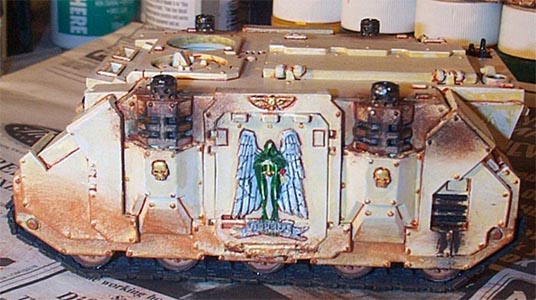
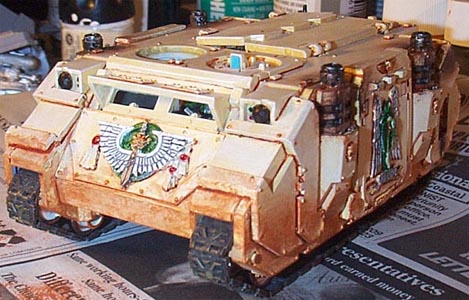
Step 8B:..........then inked it with chestnut ink, then touched up the overruns with bleached bone....... |
Step 8C:.....I then highlighted it all with skull white. Then I added Shining gold to all the skulls, and the rivets, then I inked these with a mixture of Chestnut ink and Dark Chocolate ink (Pal Ratha) I used this same mixture 1:1 for the brown lining of the entire model...... |
Step 8D: ......I Increased the amount of Scorched Brown closer to the ground. Then I painted the exhaust filth around the smoke stacks. |