

PAINTING MY DEATHWING By Lim Hao Ming ( Eastern Heretic ) |


PAINTING THE UNFORGIVEN |


This article has been published here with the express permission of Lim Hao Ming ( Eastern Heretic ). |
How I painted my Deathwing Terminators: Welcome to my first article on painting! I will be covering the details and steps on how I have gone about, painting my Deathwing Terminators for my Dark Angel's Army. I hope you will learn something new from this article. You can find my Dark Angels Army displayed in the Legions of the Unforgiven section. |
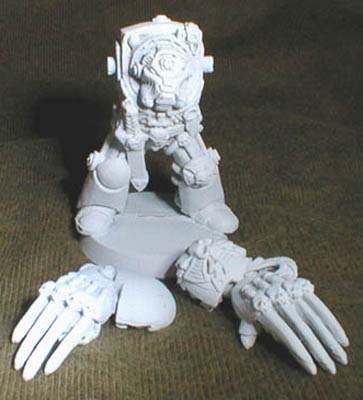
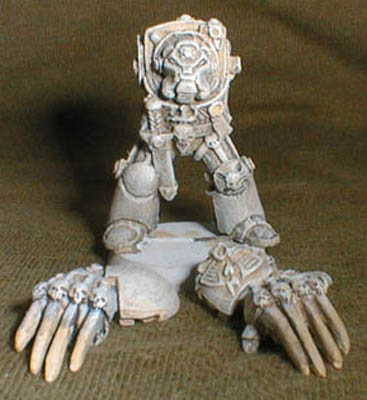
Stage 1: Do not assemble the entire figure. Remove all flash and mold lines from the figure. Use a needle file of pen knife to remove mold lines. Remember to be careful when using a knife. |
">

">
">
">
">
">
">
">
">
">
">
">
">
">
">
">
">
">
">
">
">
">
">
">
">
">
">
">
">
">
">
">
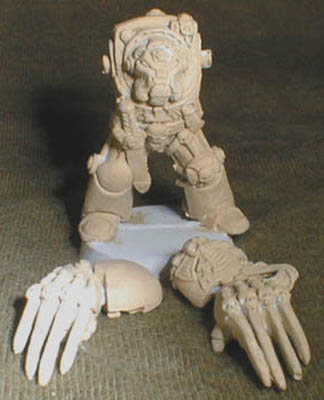
Stage 2: Undercoat the figure in white. I used a spray can to achieve this. You may off course use other methods. Be sure not to obscure the details of the model |
Stage 3: Base coat the figure in Bleached Bone (Citadel Paints). Be sure not to obscure the details of the model. This is to give the model the primary colour of the Deathwing Terminator. |
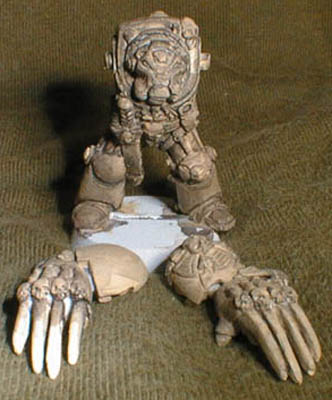
Stage 4: Next, I applied an ink of Scorched Brown by diluting the scorched brown with water. This has the consistancy of milk. I applied the ink to the entire model Take care to ensure the ink is applied to all the recesses. This step is to achieve a shadowed effect by ensuring darker coloured paints are in the recesses. |

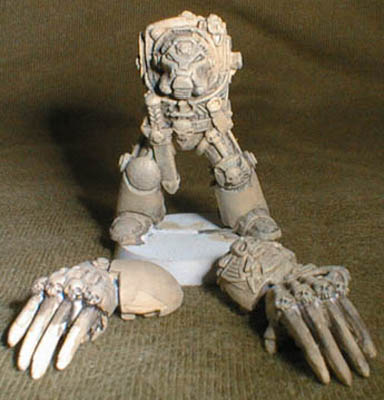
Stage 5: Next, I applied another layer of Bleached Bone by drybrushing. This will deposit a very light layer of paint on the raised parts. This step is to return the model to the Deathwing colours of Bleached Bone, with out painting over the dark coloured paint in the recesses. You achieve a shadow like effect on the model. |
Stage 6: Next, I applied a layer of Skull White also by drybrushing. This intensifies the shadow as well as highlighting effect. Moreoever I use drybrushing for two reasons. It gives the Deathwing model a powdery effect that coinsides with fluff about the Deathwing. I do not know how to use the layering effect properly. |
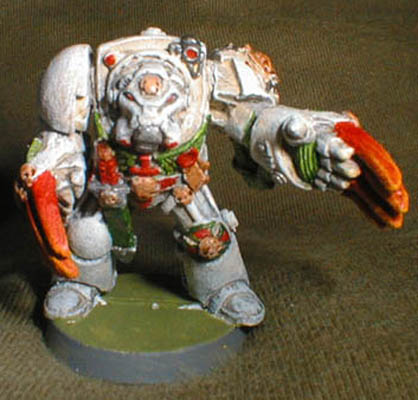
Stage 7: Next, I apply the final details to the model. I have added a few more shots for the finished model so that you can see the colours of the Deathwing for yourself. Thanks for reading this far!!! More painting guides to come in the future!! |
