

MODELING A TECHMARINE ON A BIKE By ( Rich ) |


MODELLING THE UNFORGIVEN |


This article has been published here with the express permission of ( Rich ). |
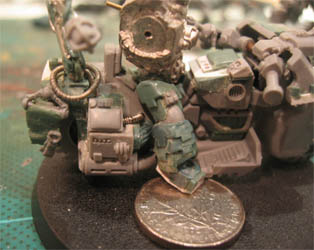
Step 15 - I was pretty busy today. However, a lot of it was busy waiting for green stuff to cure. However I have the front and back halves of the bike fixed together now and a lot more work done on the legs as well as the torso now pinned to them. Bulked out and detailed his things a bit. Will finish them up tomorrow once its fully cured and do his knees. What's this? A techmarine without any bionics. I noticed this grievous faux pas and fixed it pretty quickly. Got some other details smoothed out as well as sculpting a tiny chapter badge for the left side of the wheel arch. |
">

">
">
">
">
">
">
">
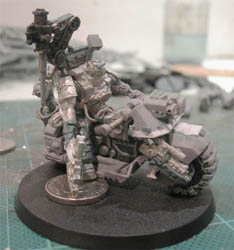
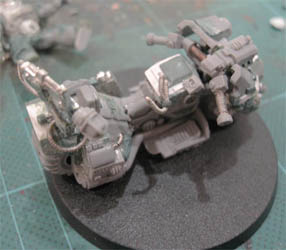
Step 19 - Without the rider can see a little more of the bike and the cabling that links the techmarine to the computer. |
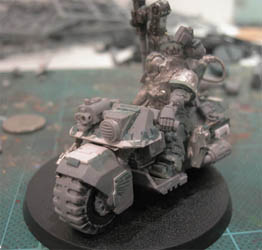
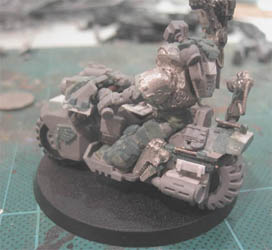
Lastly a picture of the front to show its natural lean as the rider rests his foot on the floor. I built up the side walls of the tires to represent the bulge caused by the combined weight on the tires. The riders right hand holding the axe was built from scratch and Im not too happy with how it turned out, as there is still a little wet green stuff on this mini at the moment, hand included, I am going to put a bit more work into it, building up its shape and size properly as well as some little tweaking of the green stuff in the odd place that needs it. Again, sorry for the bad quality photos! |
">
">
">
">
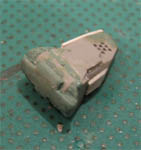
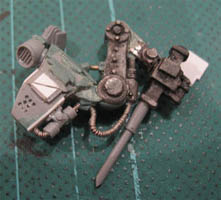
The new servo harness I built. Its a bit bigger than the first one I made as well as being a bit more detailed. |
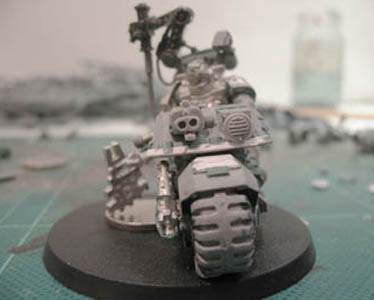
Step 18 - The wing icon on the front wheel housing is my DIY chapter iconography and not RavenWing as it may look |
Step 17 - Well, its been a while since my last post on the WIP thread for this project. For a variety of reasons. One was that it seemed I got bogged down in tweaking little details. But this techmarine is now pretty much finished to my satisfaction - the photos, however, aren't too good because of quickly taking them and then trying to quickly fix them in photoshop. But, on with the pictures. |
Step 16 - And this is just the beginnings of a new backpack for the servo harness. Started again from scratch. Im going to add some of the layered armour over it to tie it in and build its size up more as well as more 'stuff' over it (thanks for pointing that out Tubal) |
">
">
">
">
">
">
">
">
">
">
">
">


Lastly, this is just something I quickly did today while parts of the techmarine where drying/curing. Still got a fair bit of detailing to do but that wont take that long. I lengthened the legs and raised the torso of this. Plenty of gap filling to do and also need to build up the waist - I do know about that. |
">
">
">
">