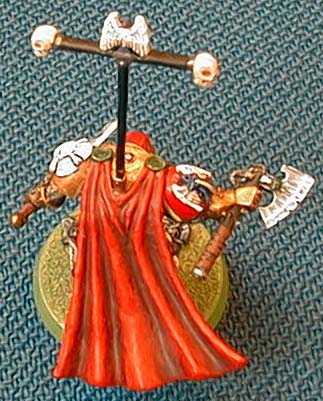
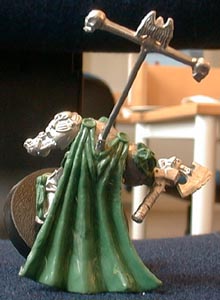
Step 5 - Completing the cloak: The next stage was to add some putty to the visible side of the cloak. As you can see I failed miserably, but some damage control using sand paper and more putty did the trick. The really hard part is modeling the part that goes up on his shoulders. You really need to make it look like the cloak is flowing as the model moves and well, it takes a bit of feeling to get it right. I did not! Which is why Jes Goodwin is a miniature designer and not me. |

PROJECT: MASTER OF DEATHWING By Johann Söderland ( Arch Angel Cragganmore ) |


CHARACTER CONVERSIONS |
Step 4 - The cloak: Now for the cloak. The process is fairly simple. A thin "cake" of Green Stuff is rolled at first, it should be no more than a mm thick, and applied to the underside of the wire frame I made previously. Gently pressed against the frame until it sticks. The Green Mess is now flat. To make it flapp in the wind, press down with a modeling tool in betwine the wires of the framework.This will create the foalds in the cloak. |
">

">
">
">
">
">
">
">
">
">
">
">
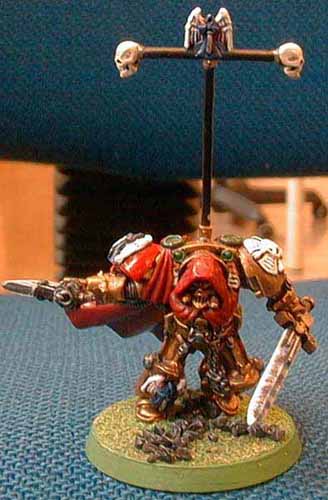
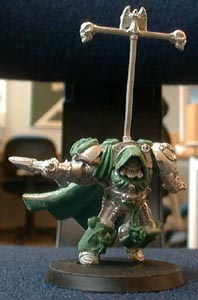
Step 7 - Painting the finishing touches: I wanted the armour to look old so after a black undercoat I painted the armour with Brazen Brass mixed with a bit of Chaos Black and Dark Flesh, followed by a heavy dry brush of Shining Gold. This was then highlighted using a mix of Shining Gold, Mithril Silver and Sunburst yellow. It does not show well in the pictures but the highlight looks really striking. Try it! The cloak was given a few moderate coats of Red Gore to give a solid, deep red to work from and was then highlighted and shaded in stages to give an impression of depth in the folds. The sword and axe I painted in Regal Blue and then used my dry brush and a mix of Ultramarine Blue and Skull White to create the power bolts going from the edge towards the middle. The fine lines created was then highlighted using Skull White. The entire edge of the weapons where painted White. This gives the impression of the edge being pure energy that wanders towards the middle of the blade. |


Figure 6 |
Figure 5 |

Figure 7 |
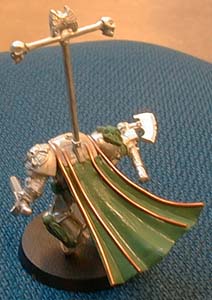
Figure 8 |
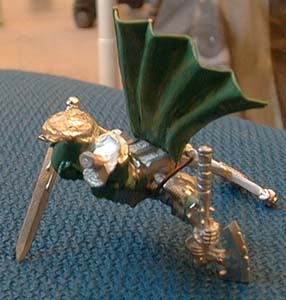
Figure 9 |
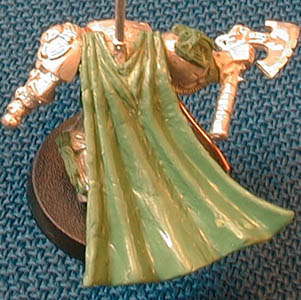
Figure 10 |
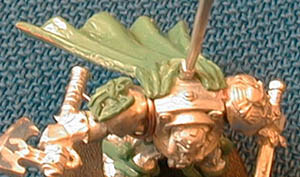
Figure 11 |
">
">
">
">
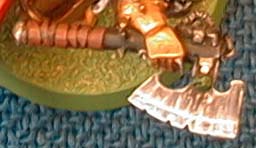
Step 6 - Final details: I have now added anchor points for the cloak and touched him up so he is ready to be painted. I also thought of adding a hood and as he does not have a robe to link it to I came up with the collar idea you see in the image bellow. The hood itself is a cast from Brother Beathor and the collar is sculpted. Not much more to say really more than that it is now ready to be painted. |