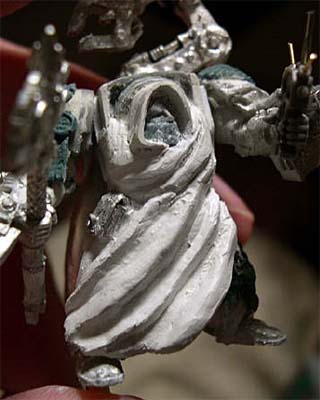
Step 10 - Making the folds: Since the top part of the robe is directly on the torso, the easiest way to make the folds here is by just taking a round file and fileing out the fold. For the bottom half of the robe you wan to trim off the excess and sand it. |

CONERTING A DEATHWING TECHMARINE By Fabio van der Merve |


CHARACTER CONVERSIONS |
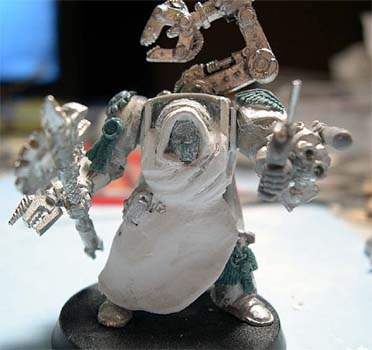
Step 9 - Robe: Like the cowl, I rolled out a larger piece milliput using a roller and some talcum powder to make sure the milliputt did not stick to anything. |
">

">
">
">
Converting a Deathwing Techmarine: Initial concepts and Thought Process After the 2004 Boston GT, I decided that I was going to enter my Deathwing command squad in this year's Golden daemon competition. Looking at the command squad, I realized I could not call it a true command squad unless I had a techmarine to go along with my apothecary. Since I have gotten a lot of emails about how I converted my terminators, I decided to document the process, in the hope that some questions were answered. I am going to do this in parts as I have a lot of pictures, and putting it all in one thread would cause it to take for ever to load. I must warn you that this conversion is not an easy one to do. It took me three initial test models and 17 terminator conversion to get good at it. Hopefully, people can take away something in order to make their terminators look better, until the new terminators are released. Questions and comments are always welcomed. |


Figure 6 |
Figure 5 |
Step 10 - Making the folds: |
">
">
">
">
">
">
">
">
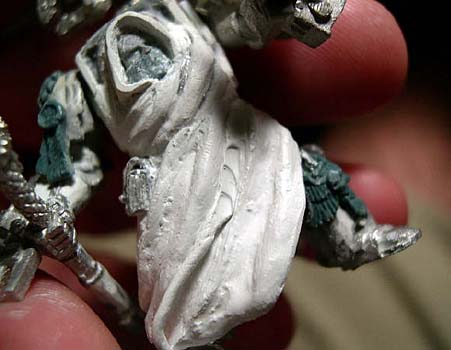
Step 11 - filling in the gaps: Most people stop with the rolls, but I like to go ahead and use some |
">
">
">
">
Step 10 - Making the folds: |
">
">
">
">
">
">
">
">
Step 11 - filling in the gaps: |
Taking a sculpting tool, starting blending in the roll with the cloak. Using a little water helps with the blending. Keep on repeating process until you have added enough folds on your robe. |
milliput to fill in between each fold. This helps them blend together, so that it actually like folds in cloth. You want this to then dry over night and the use the extra fine sand paper to sand the robe smooth. |
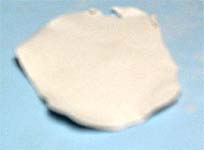
I cut out a pattern and placed it on the Terminator. Once again, don't worry about excess milliputt, just get the shape that you want. I usually let the milliput dry a little so it reatains the shape of the robe a little better Leave it to dry over night |

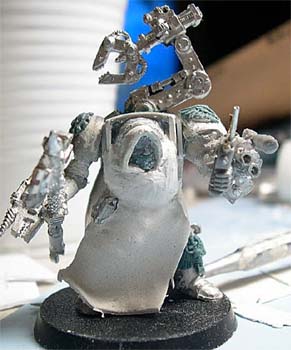
To make the folds on the bottom robe you should take a small piece (use only enough to make one roll as the milliput dries very fast and if it becomes to hard you cant use it to make a fold) of milliput and roll it out to make a sausage. How thick the roll is depends on how big you want the fold to be. In placing your folds you should follow the direction of flow of the robe. |