RHINO MkII INTERIOR LIGHTING By Simon Larsen |


VEHICLES & WARMACHINES |
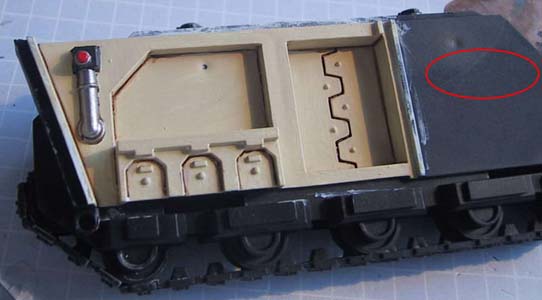
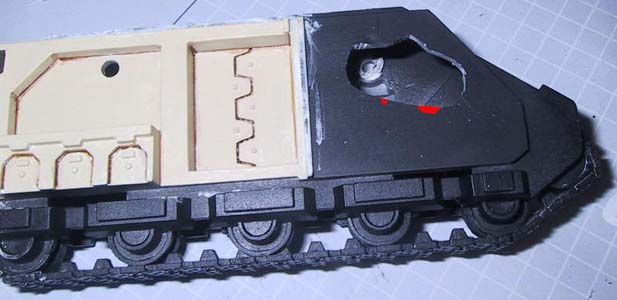
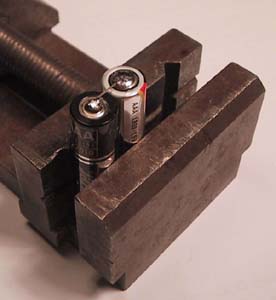
Step 1.4: Increase battery space. If you try and fit two AAA batteries into the front of a standard Rhino, you'll be disappointed to find that it won't fit. That is easily remedied! Stick the two batteries together using a strip of tape. Hold this up against the left-hand side of the track, inside the driver's compartment. Using the shape of the batteries as a guide, cut a hole in the side, like so. Note the extra "knot" on the shape, this is for the wires! The two red triangles mark where I made two additional knots later on. You should make those as well. That should do it for now, you will actually need to do a bit more cutting, but we'll save that for later. |


">

">
">
">
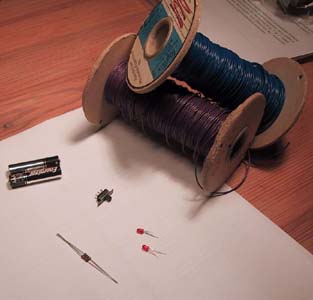
Chapter 2: Electrics! First off, a glimpse of the materials used (minus the shrinkage-tubing, sorry). Please note the type of switch used. It's by far one of the best types for this job, in my opinion. |
Figure 6 |
Figure 7 |


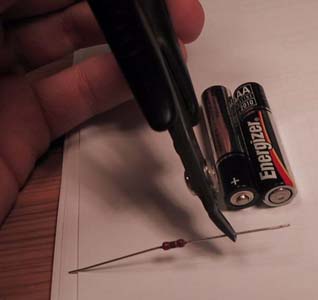
Step 2.1: Assembling the battery-pack. Cut away a length of one of the component-legs, on one of the resistors: |
">
">
">
">
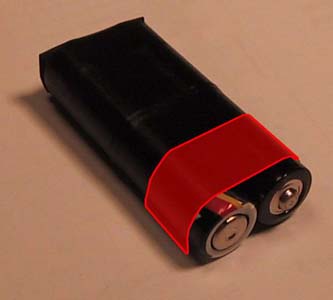
Step 2.2: Wrap up the battery-package. Wrap the batteries in insulating tape. I used a bit too much, so you should stop before the red part on this image: The important part is the rear-end; make sure it's closed up good. |
">
">
">
">
">
">
">
">
">
">
">
">
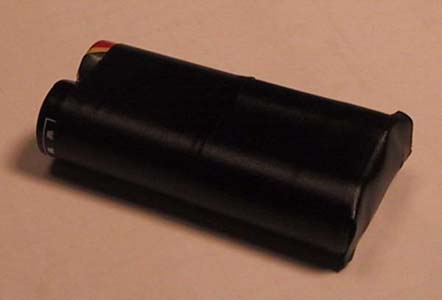
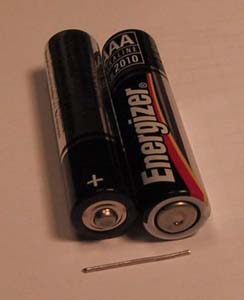
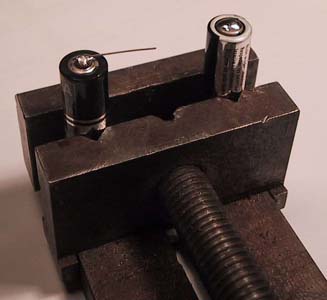
Measure against the batteries, to ensure that the length of the leg is sufficient. Put a blob of soldering-lead on the + end of one of the batteries then attach the component leg. This will be some of the most tricky soldering, as batteries are a complete pain in the arse to solder on! Put a blob of soldering-lead on the end of the other battery. Solder the two of them together, like so: Voila! A serial-connected pair of batteries! |