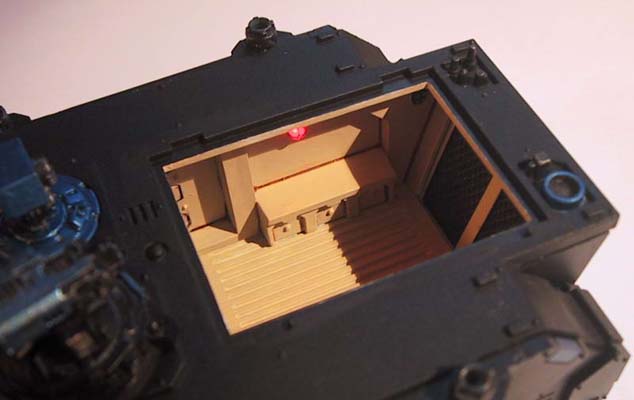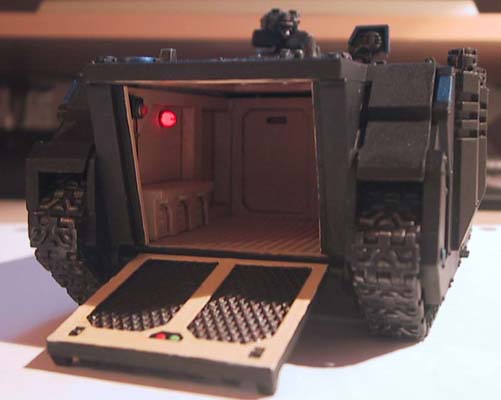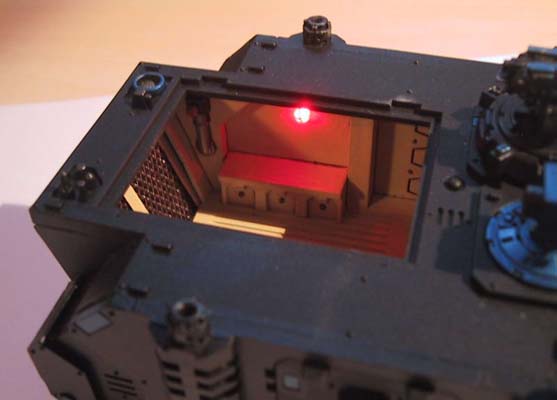
RHINO MkII INTERIOR LIGHTING By Simon Larsen |


VEHICLES & WARMACHINES |
The lever is switched towards the left-most track (on the picture, it's the right-most track on the model). In this position, the lights will be OFF! This is intentional. Imagine it was the other way around: The lever would be to the right, meaning that you could switch the lights on by accident. This way, you can't! It's a bit tricky to turn them on, but it's better than the alternative. Now look at the picture above again. Notice the very small space between the |
">
">
">
">
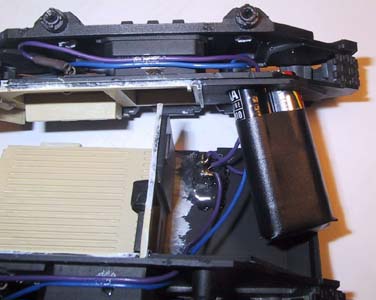
Chapter 4: Completing the wiring. Step 4.1: Haywire! The idea is to end up with a circuit that resembles this. As you can no doubt see, this proves to be quite a challenge. Here's how it ended up looking when I did it. Not exactly pretty, I know. Afterwards, you might want to fix the battery-pack firmly in place, using the hot-glue gun again. |
Figure 6 |
Figure 7 |
">
">
">
">
">
">
">
">
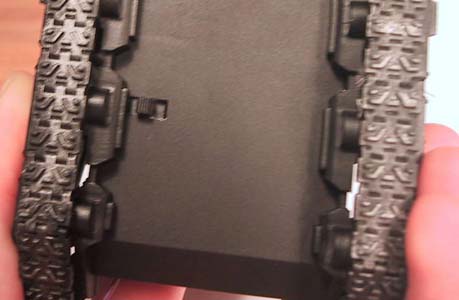
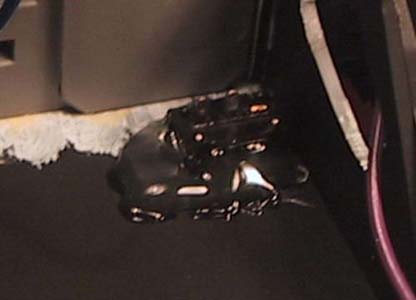
lever, and the plastic to the left. Increase this space by cutting away even more material (1 1.5mm will do). Viola, now it's easier again. Once you're happy with the position of the switch, glue it using the hot-glue-gun, from the top. Don't try using superglue! It will mess up the switch! |
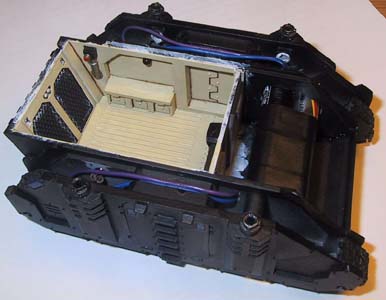
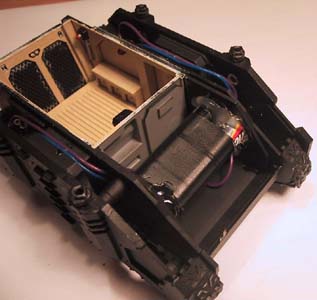
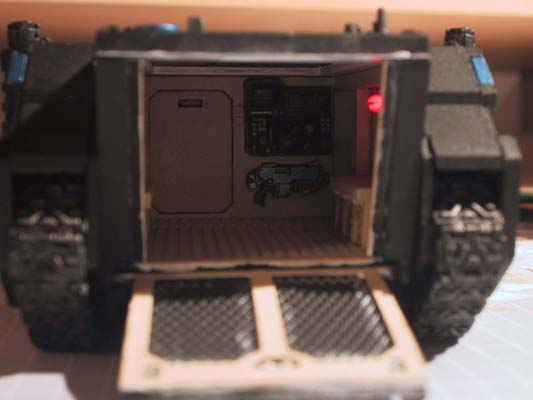
Chapter 5: Completed (Pictures!) Step 5.1: Impress: Now go out there and impress your friends / girlfriend. Riiight. And from an earlier mod, a ForgeWorld Damocles Command & Control Vehicle. Note that the LED is much brighter here, this is because I accidentally used the wrong resistor values on doing this guide. |
