THE LAZY PAINTER'S GUIDE DARK ANGELS SPACE MARINE By Chris LS |


PAINTING THE UNFORGIVEN |


This article has been published here with the express permission from Chris LS. |
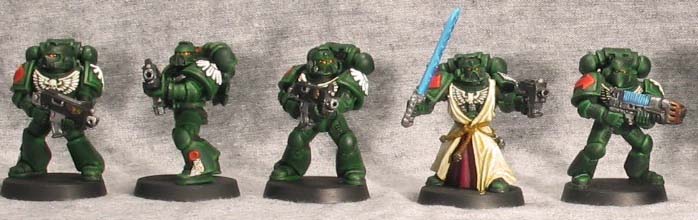
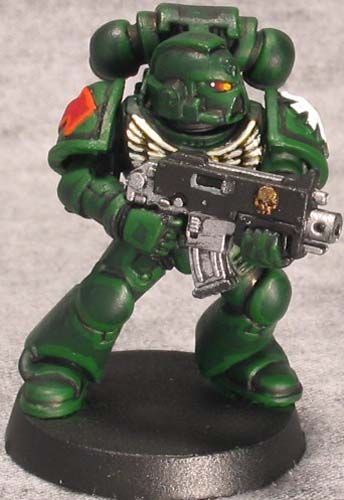
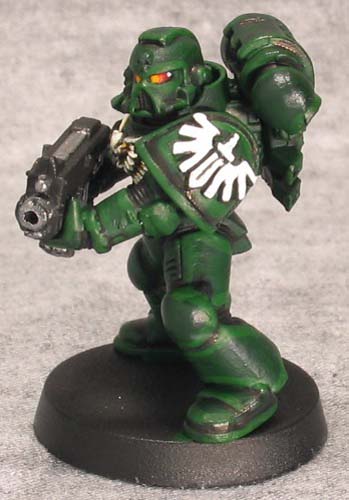
Step 10: Clean up At this point, take a couple minutes to find the little slops and errors that have been made. This is a great time to paint the ribbing at elbows and the backs of knees with a bit of black as well. This step was included in the above pictures. The pictures you see above aren't the cleanest or prettiest pictures in the world, but the entire model was painted in about an hour. This is a great amount of time, particularly when combined as a part of an assembly line process where you have a chance to get comfortable with each step. Think about it only 50 hours to have half a company painted! With two hours a night, you can have an army easily painted in a month. Now if I can just get motivated enough to spend two hours a night painting I still want to demonstrate just how important it is to have the larger, bolder highlights. Below is a picture of a squad of Dark Angels painted with the above method, including the example model. |
">

">
">
">
Final Word: See how the chunky, fat highlights bring the models to life at a distance? Considering how often we look at our models at the relative distance of web posted photos, I don't think it's worth it to try to paint an entire army with even 2 or 3 layers of highlights or using very watered down paints. The highlighting alone could nearly double the amount of time spent painting the models. So the final Lazy Painter Rule is: LPR #5: Always remember what the model will look like on the table. |
Step 11 - Details: Finally, a brief discussion of decals. These babies can bring an army to life, particularly when you don't have the cash to pick up the metal shoulder pads. However, they can be a pain to use. Some quick considerations: |
">
">
">
">
">
">
">
">
1) You MUST have decal solvents and setting solutions like Micro-Set and Micro-Sol. Without these kinds of products, your decals will never conform to the shape of a shoulder pad and will likely develop wrinkles. 2) Cut away as much excess decal away from the symbols as possible. You'll need a brand new hobby knife blade for this. Cut out the wedges between the feathers on the chapter badge and keep as little excess as possible. This will help the decal match the contours of the pad. 3) Put down a layer of gloss varnish down before applying the decals. A matte surface has lots of tiny pores that makes it hard for decals to stick. Once the decals are on and dried, paint more gloss varnish over them to seal them on. Then apply a layer of matte varnish so everything matches. I hope this tutorial is useful to you. Have a great time painting and gaming! |
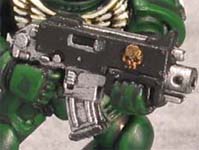
Step 9: Bolter Well, the Marine himself is done, so the next step is his weapon. This is real simple. Paint the barrel, inner casing, and magazine Boltgun Metal, clean up the outer casing with black, paint the symbol Shining Gold, and put a very slight Codex Gray highlight around the ejection port. Glue the bolter in place, and you're done! Time for this stage: 10 minutes, including assembly |